Features
- Ready for SSD1306 and ST7735 screens
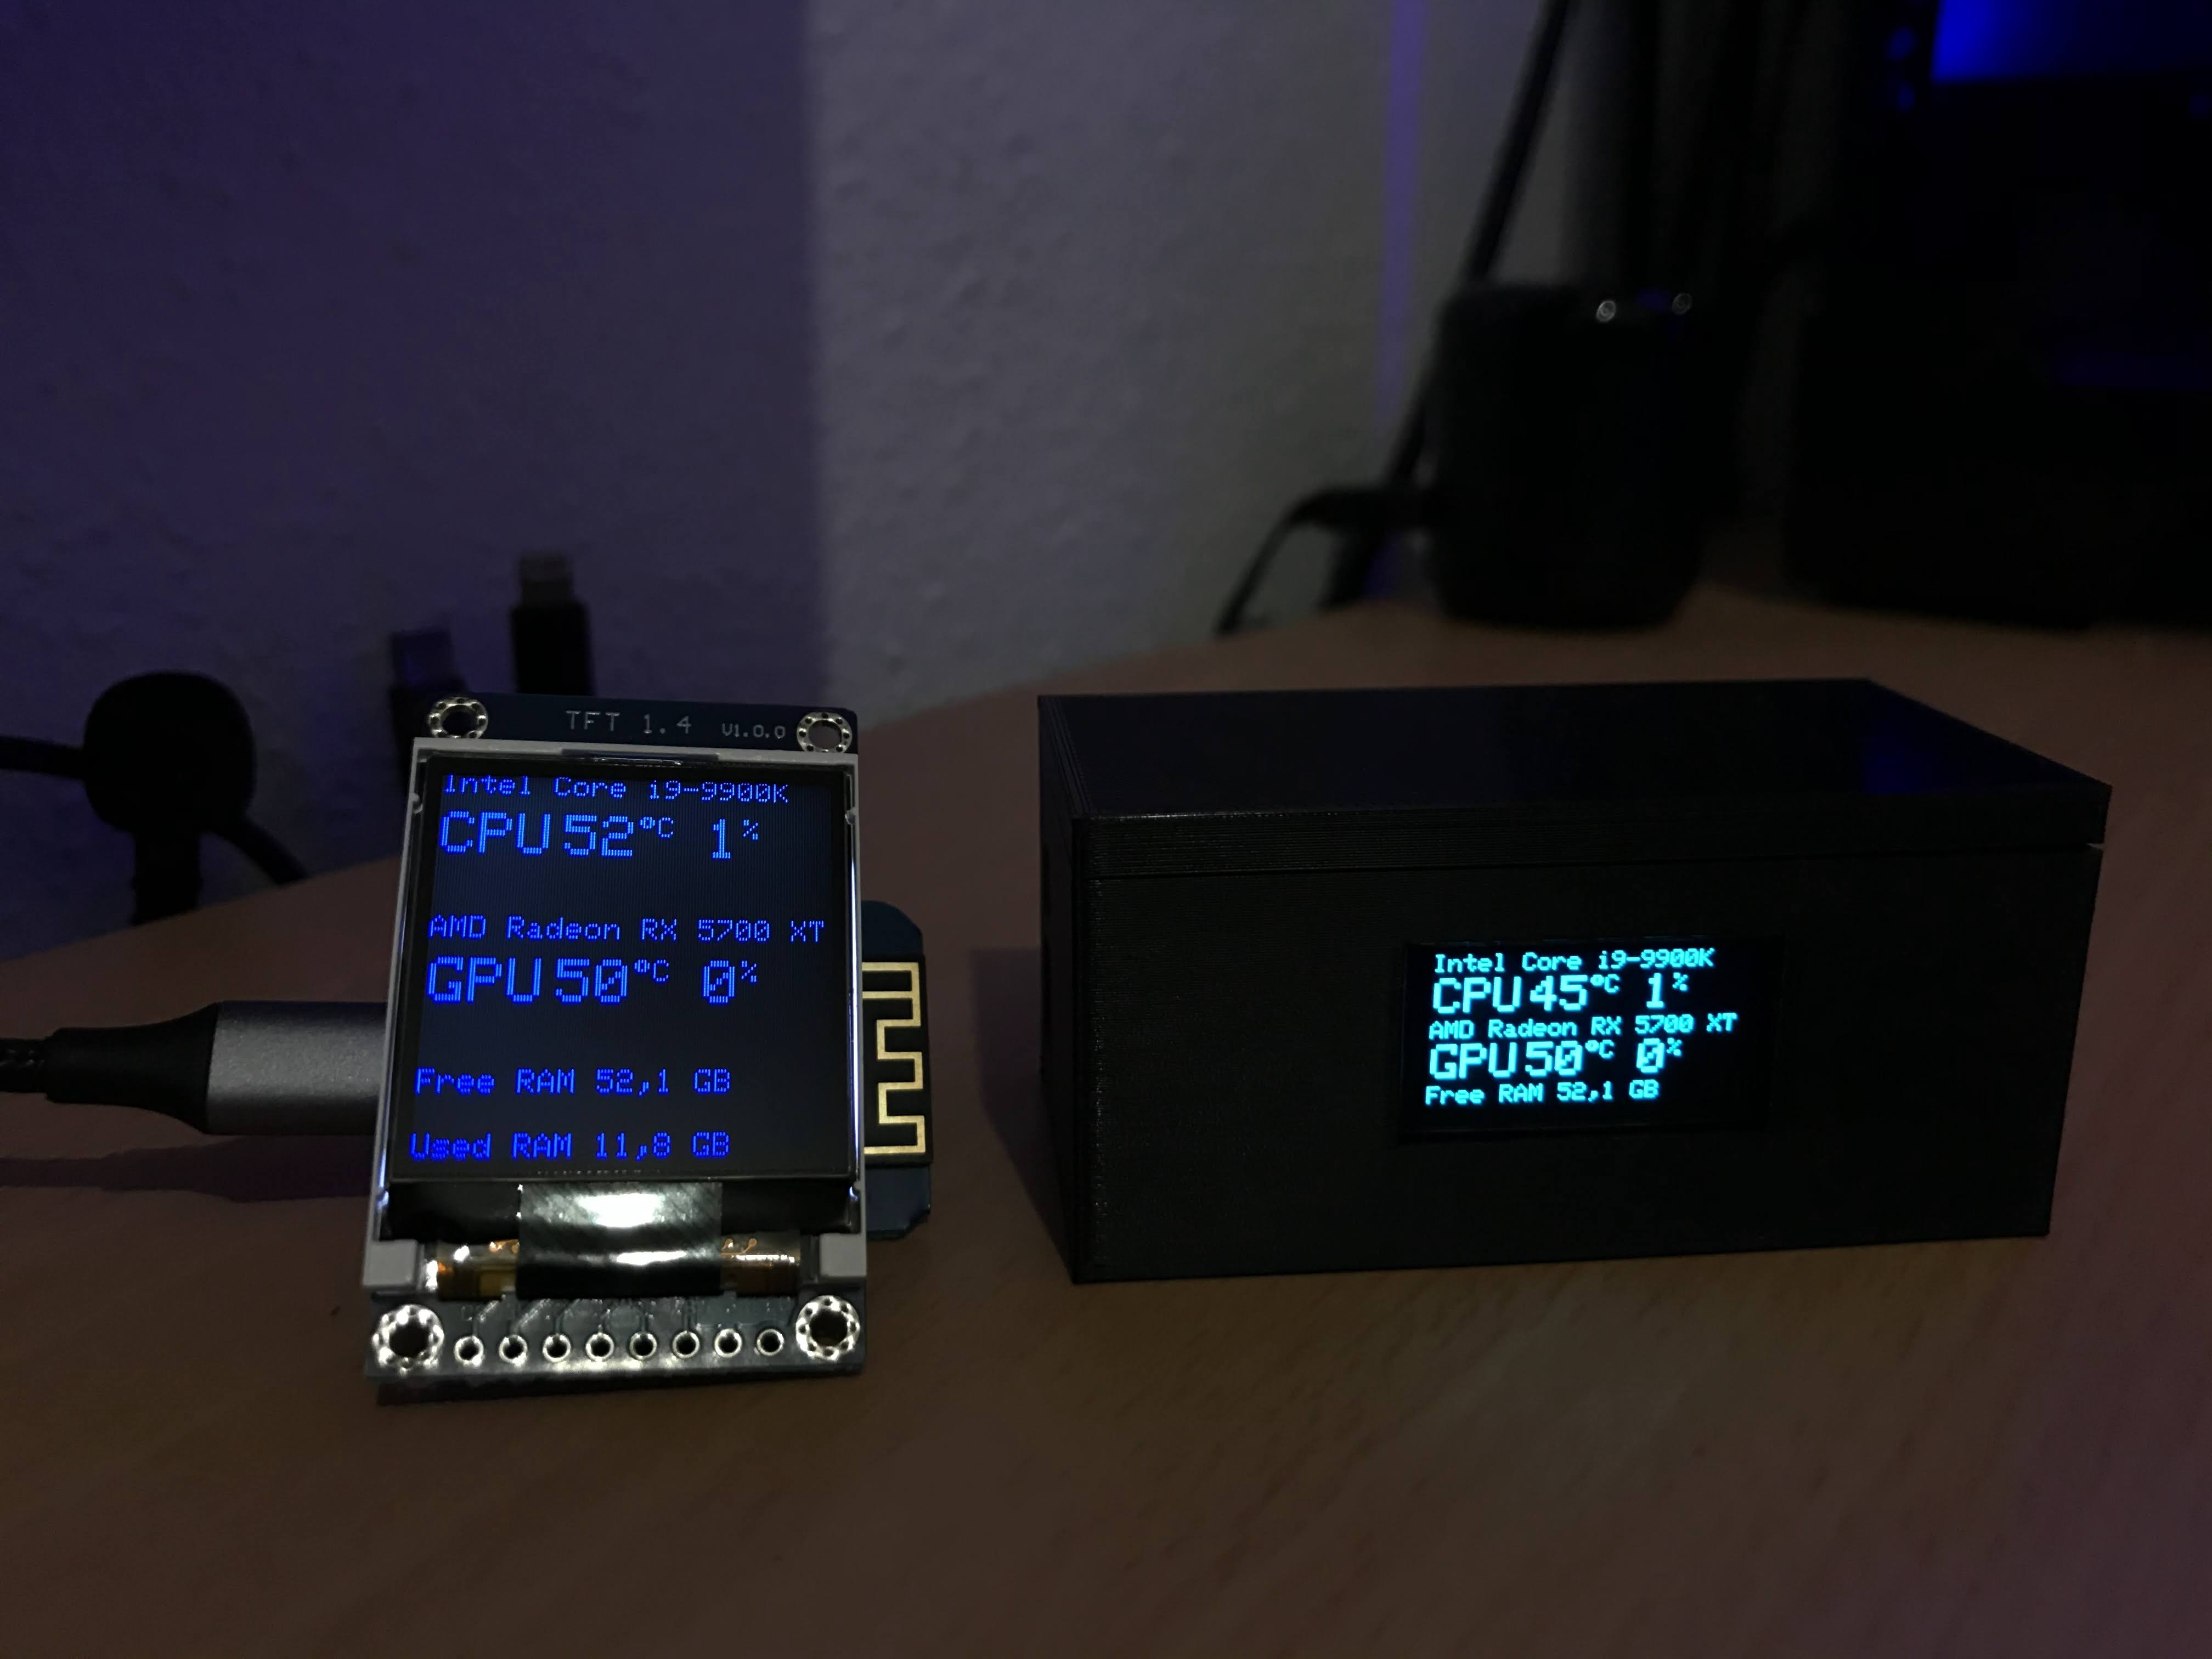
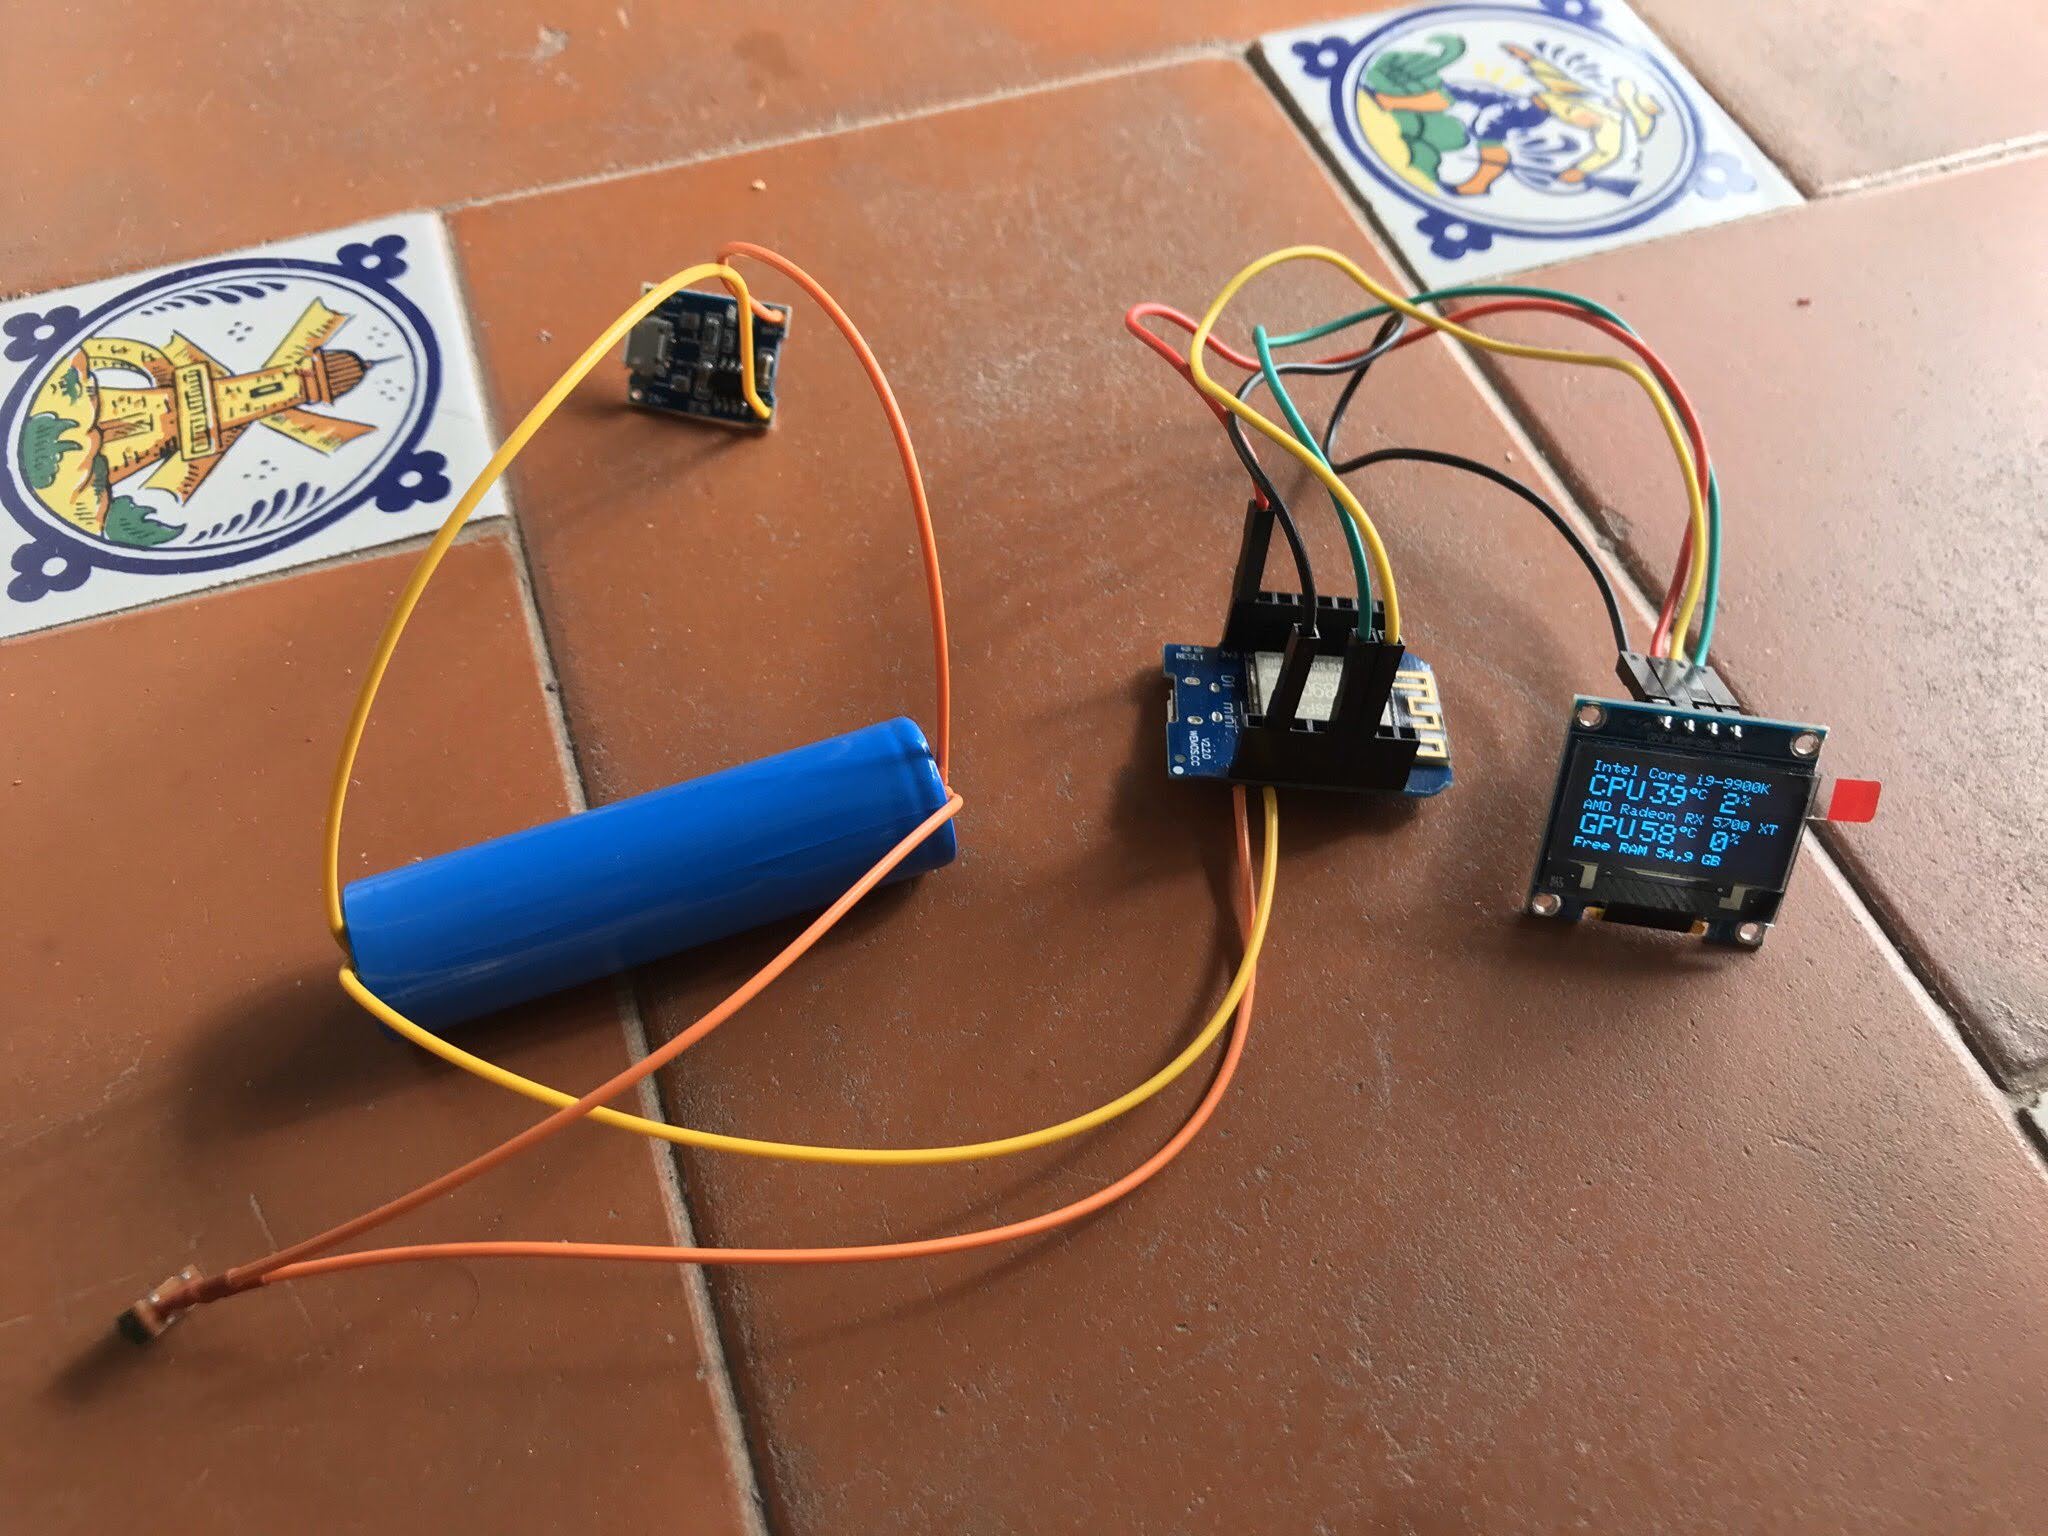
- Monitor your CPU, GPU and RAM over Wi-Fi
- OTA Firmware updates
To Do
- Add support for different screens
Needed hardware
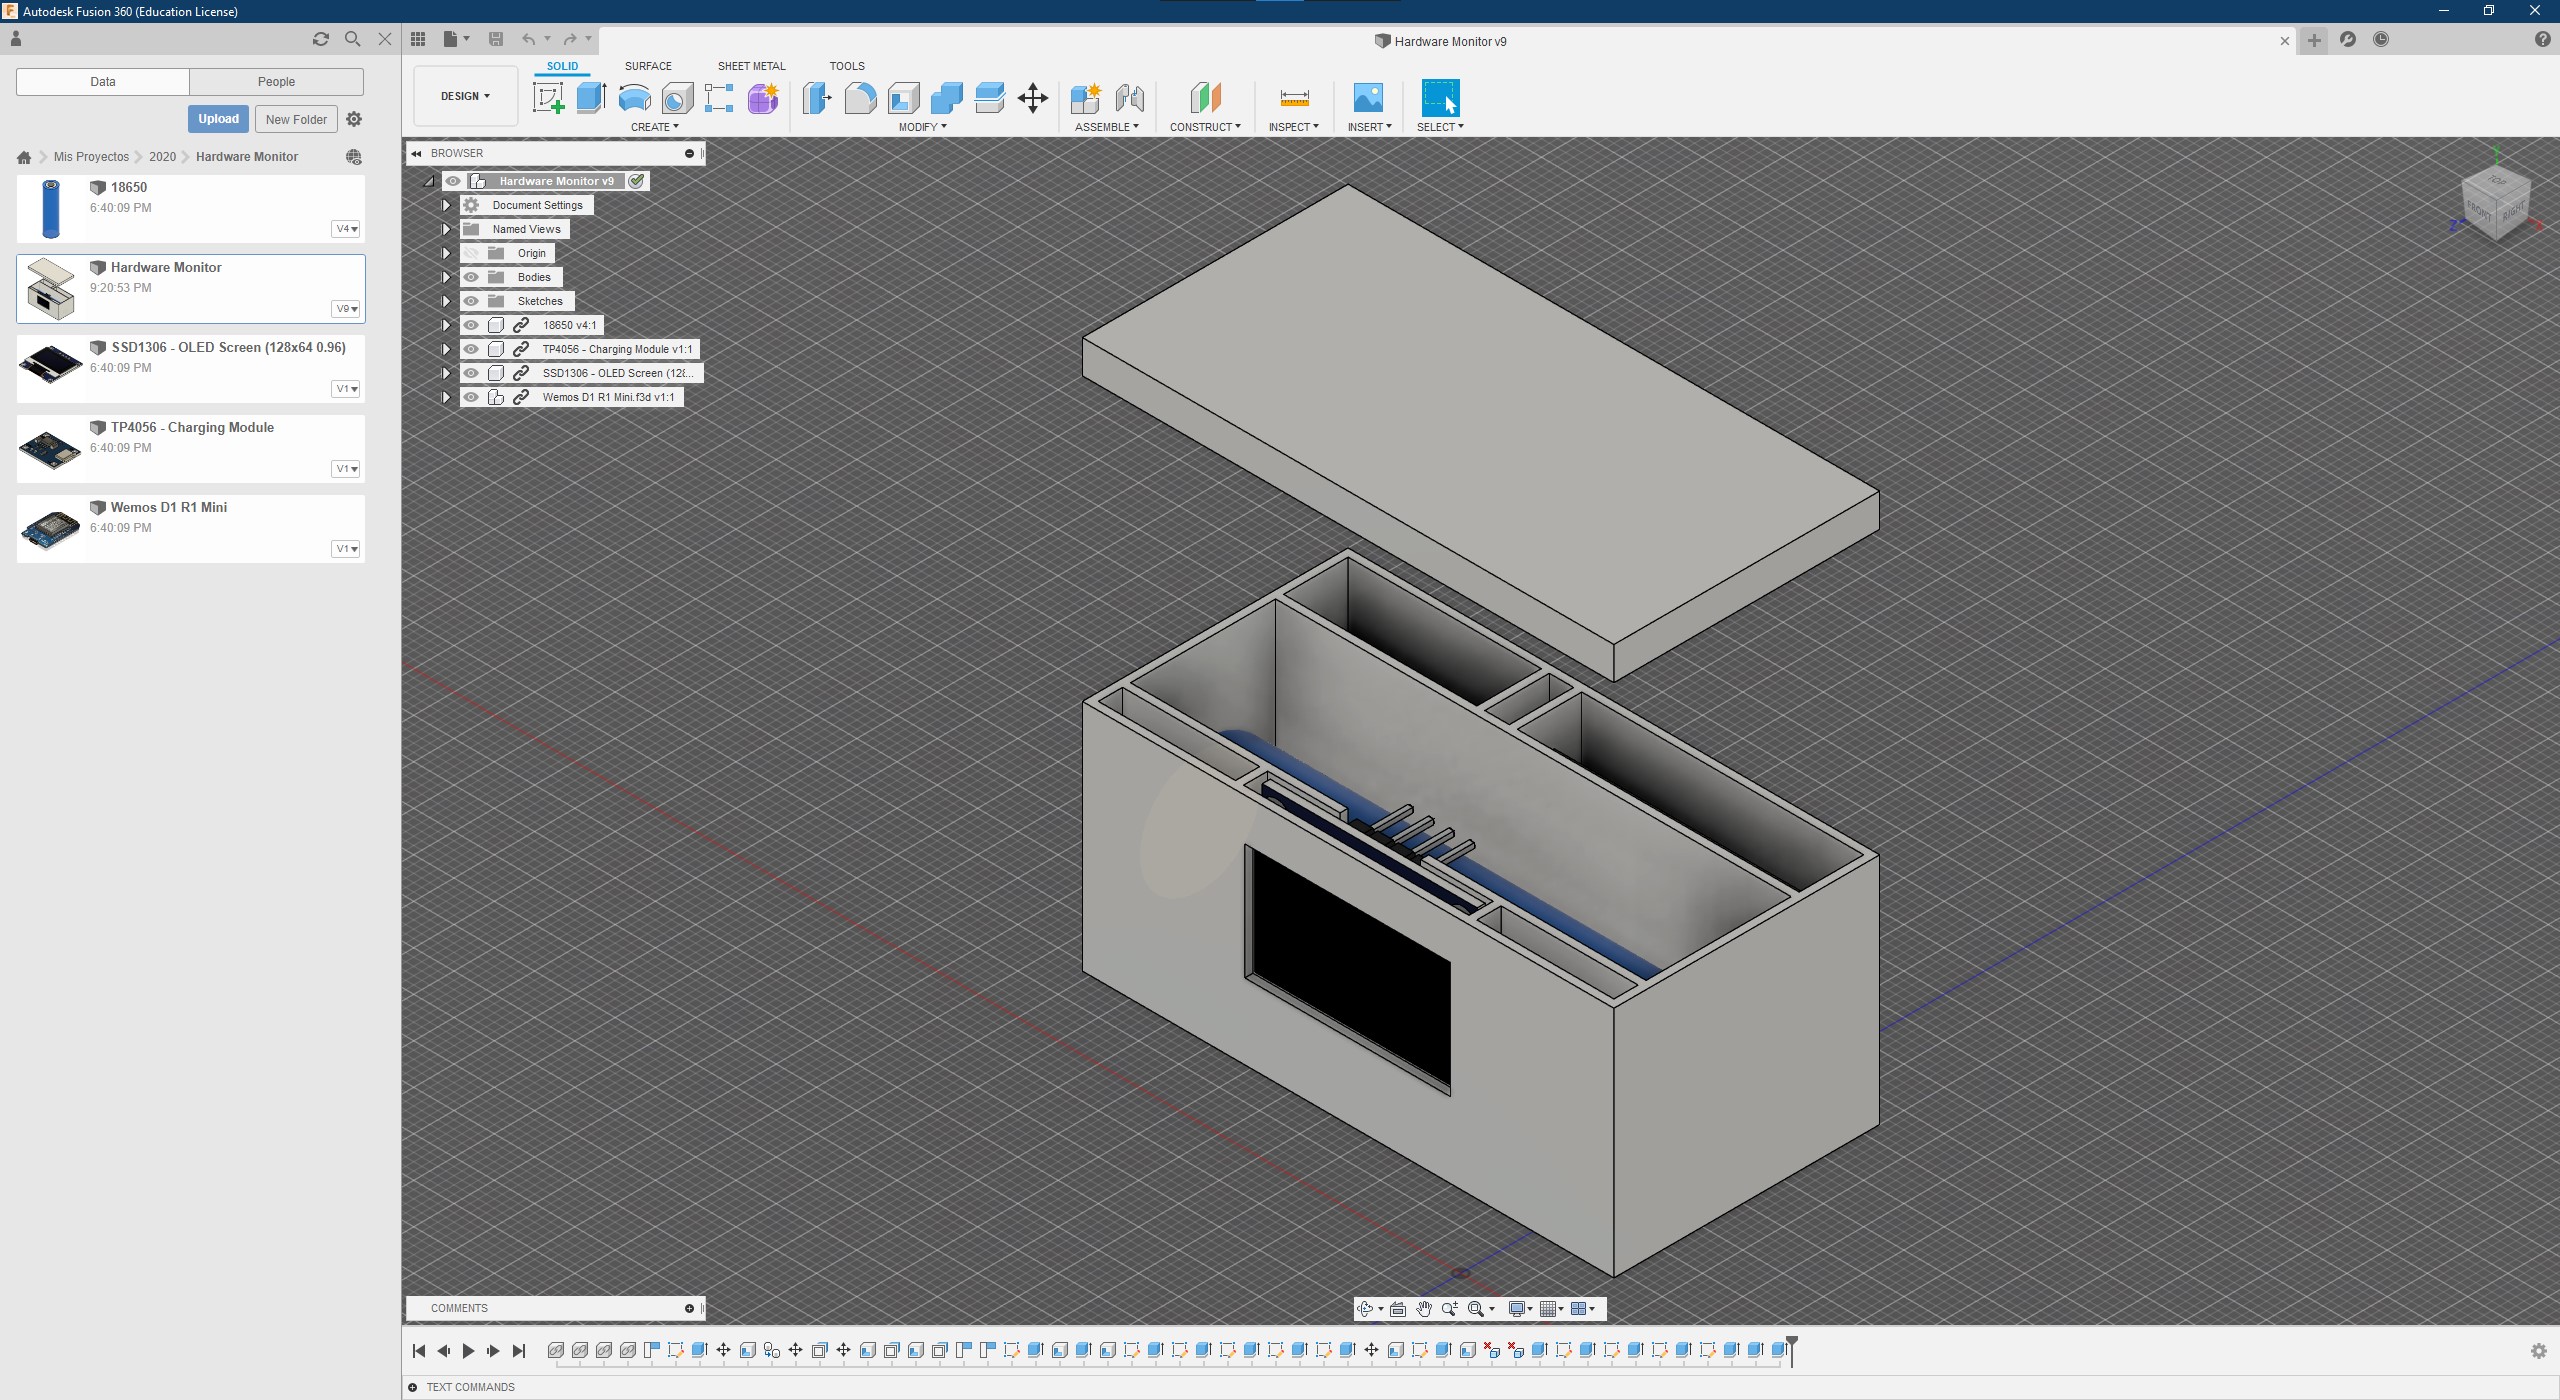
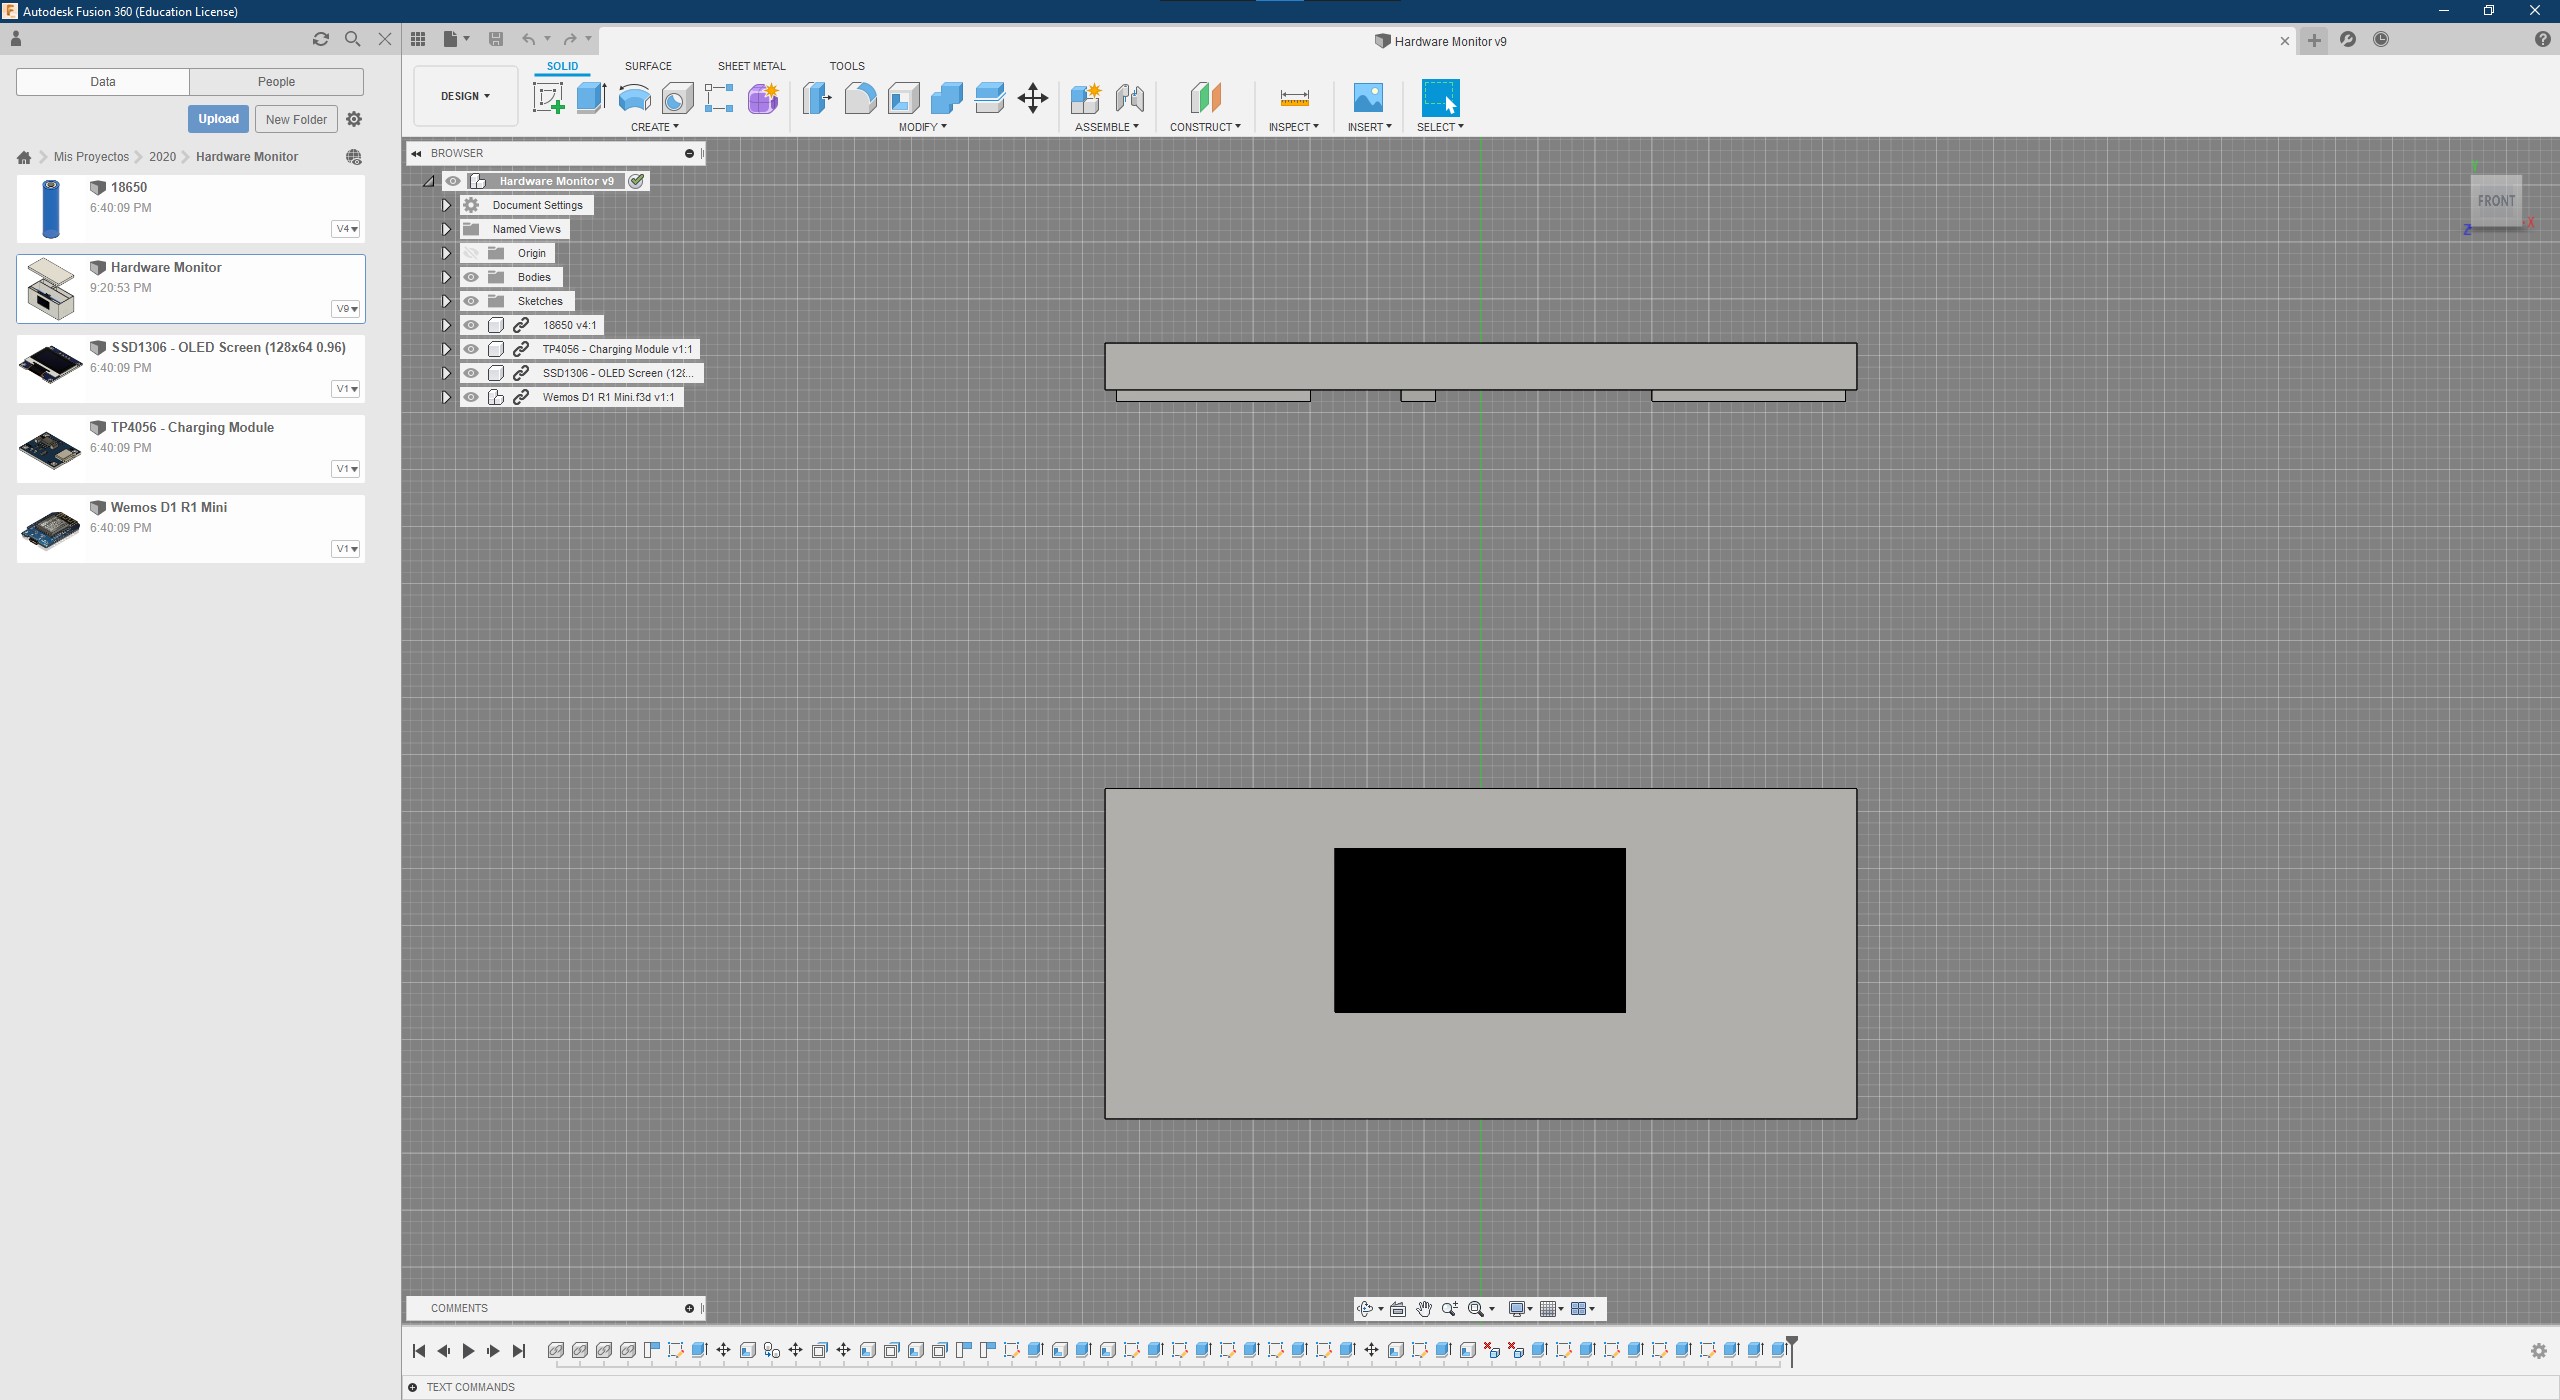
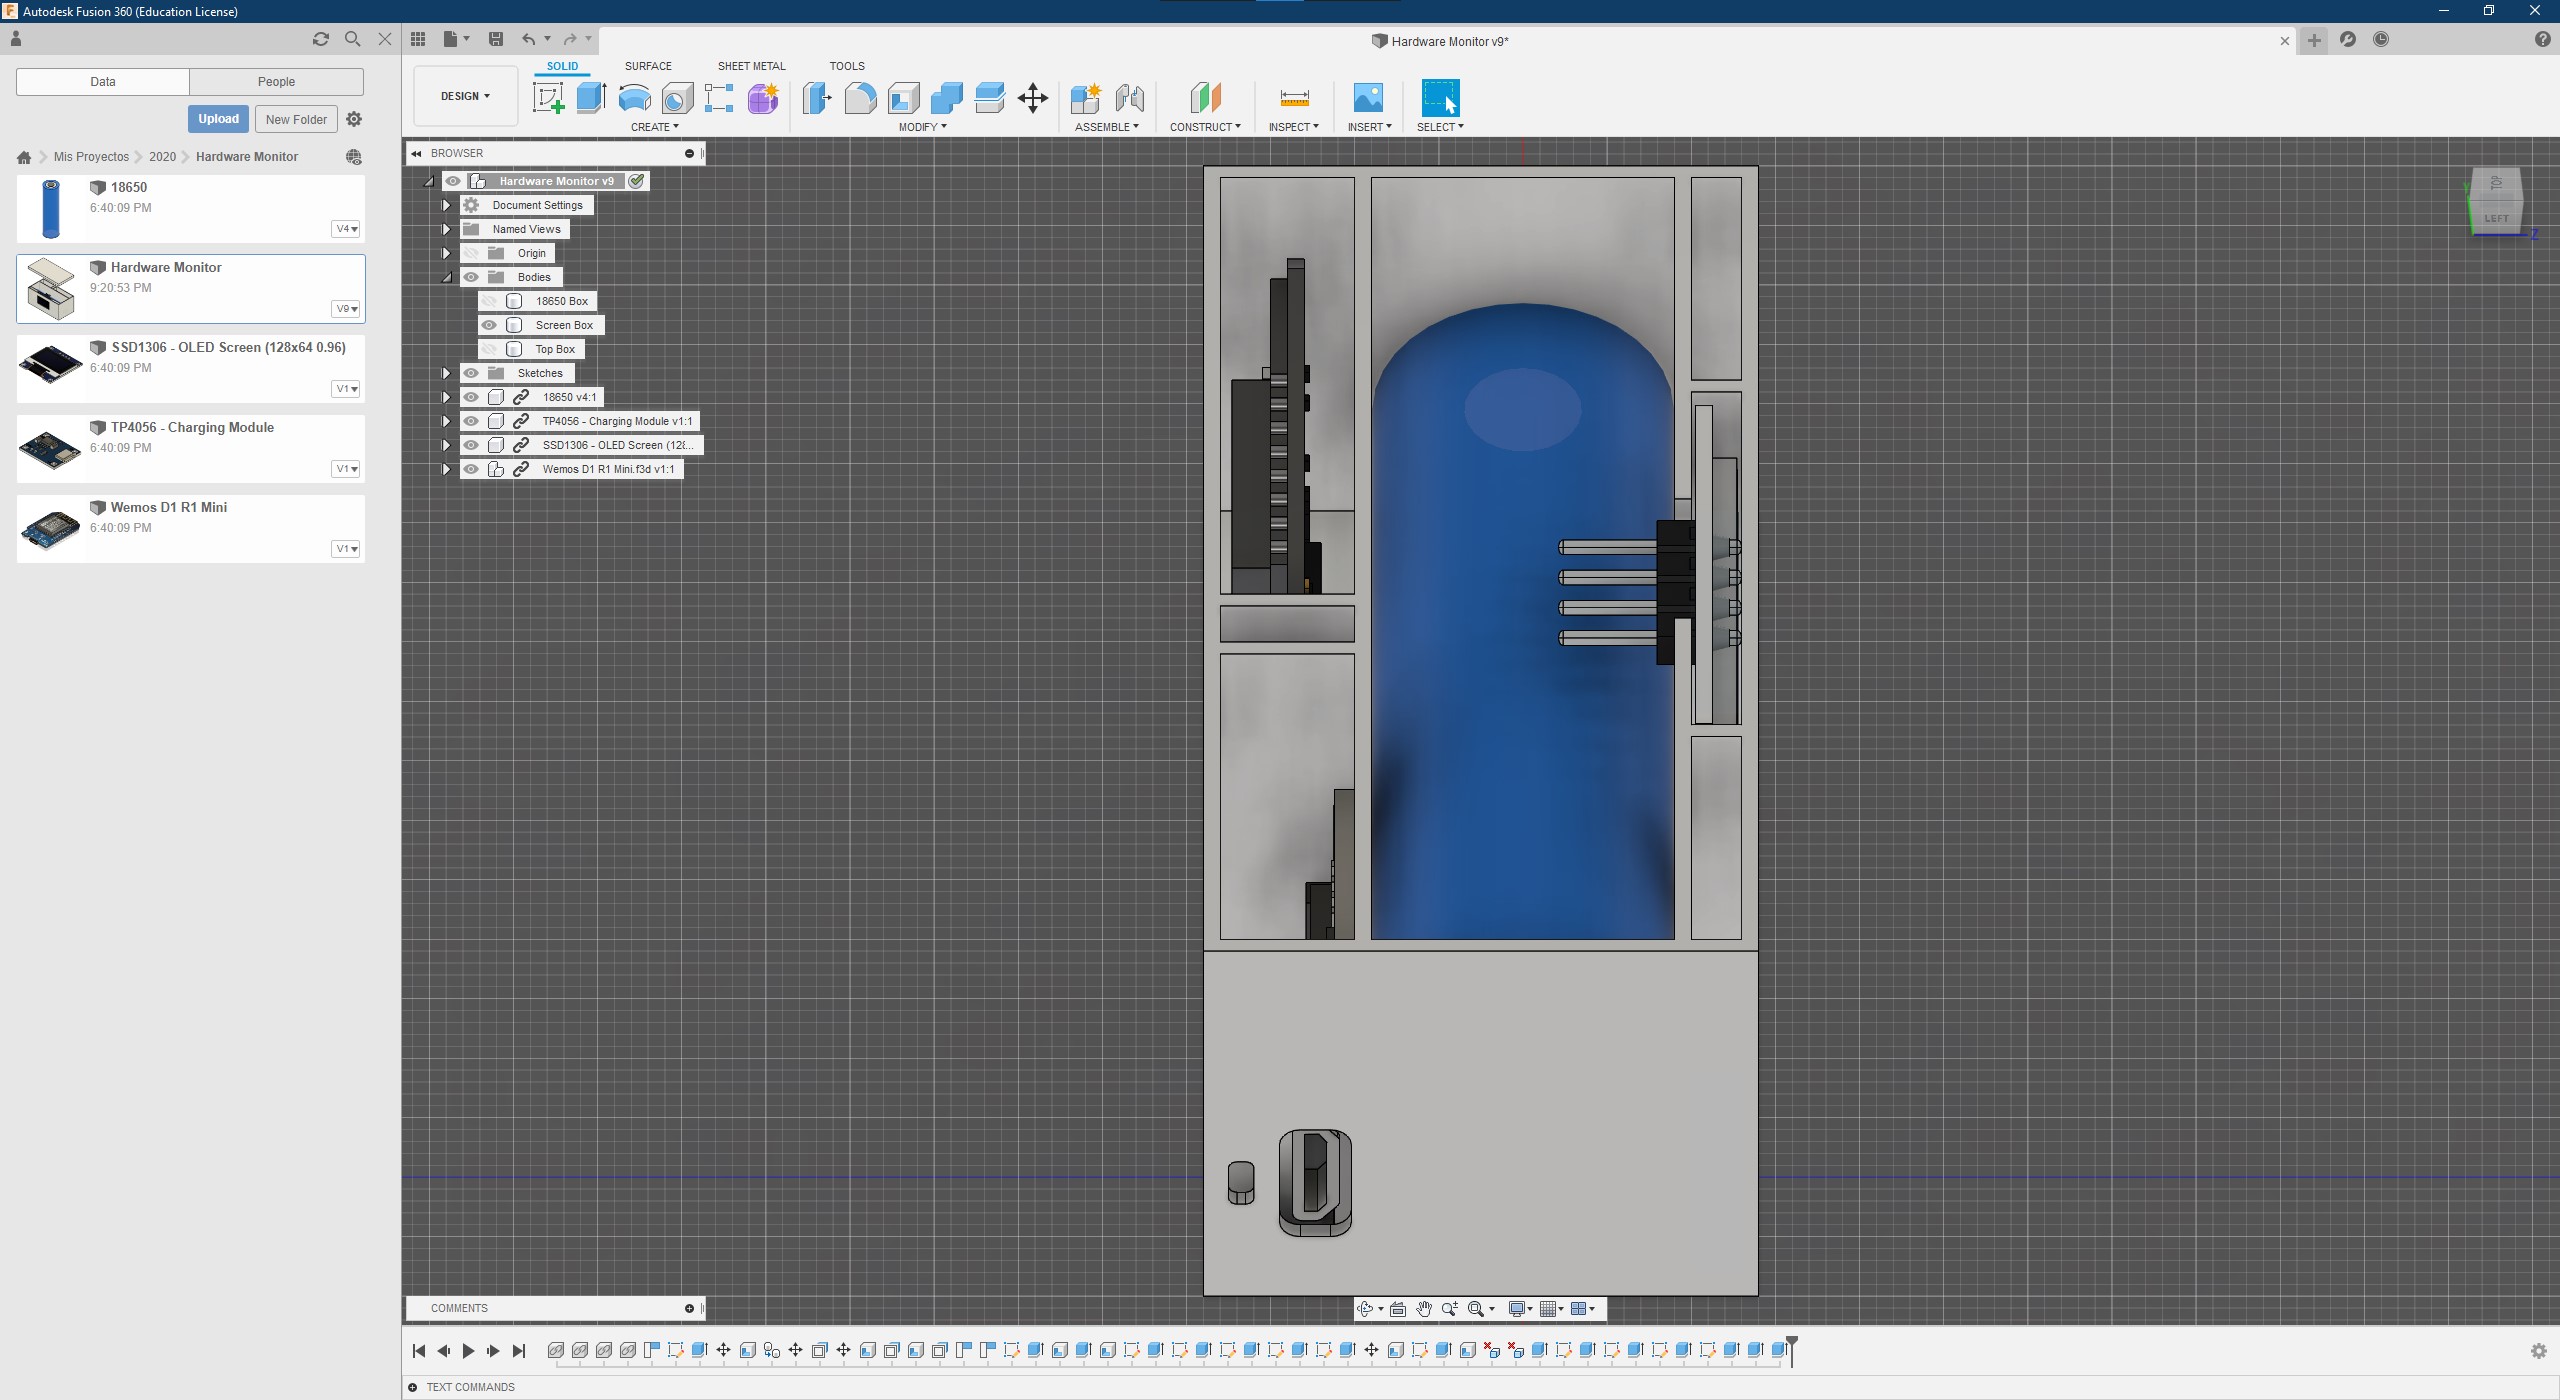
3D printed case (SSD1306 Screen)
- 1x Wemos D1 R1 Mini (ESP8266) - Get it on Amazon
- 1x SSD1306 Screen - Get it on Amazon
- 1x Charging module - Get it on Amazon
- 1x 18650 Battery - Get it on Amazon
- 1x Switch - Get it on Amazon
- 4x GPIO Cables - Get it on Amazon
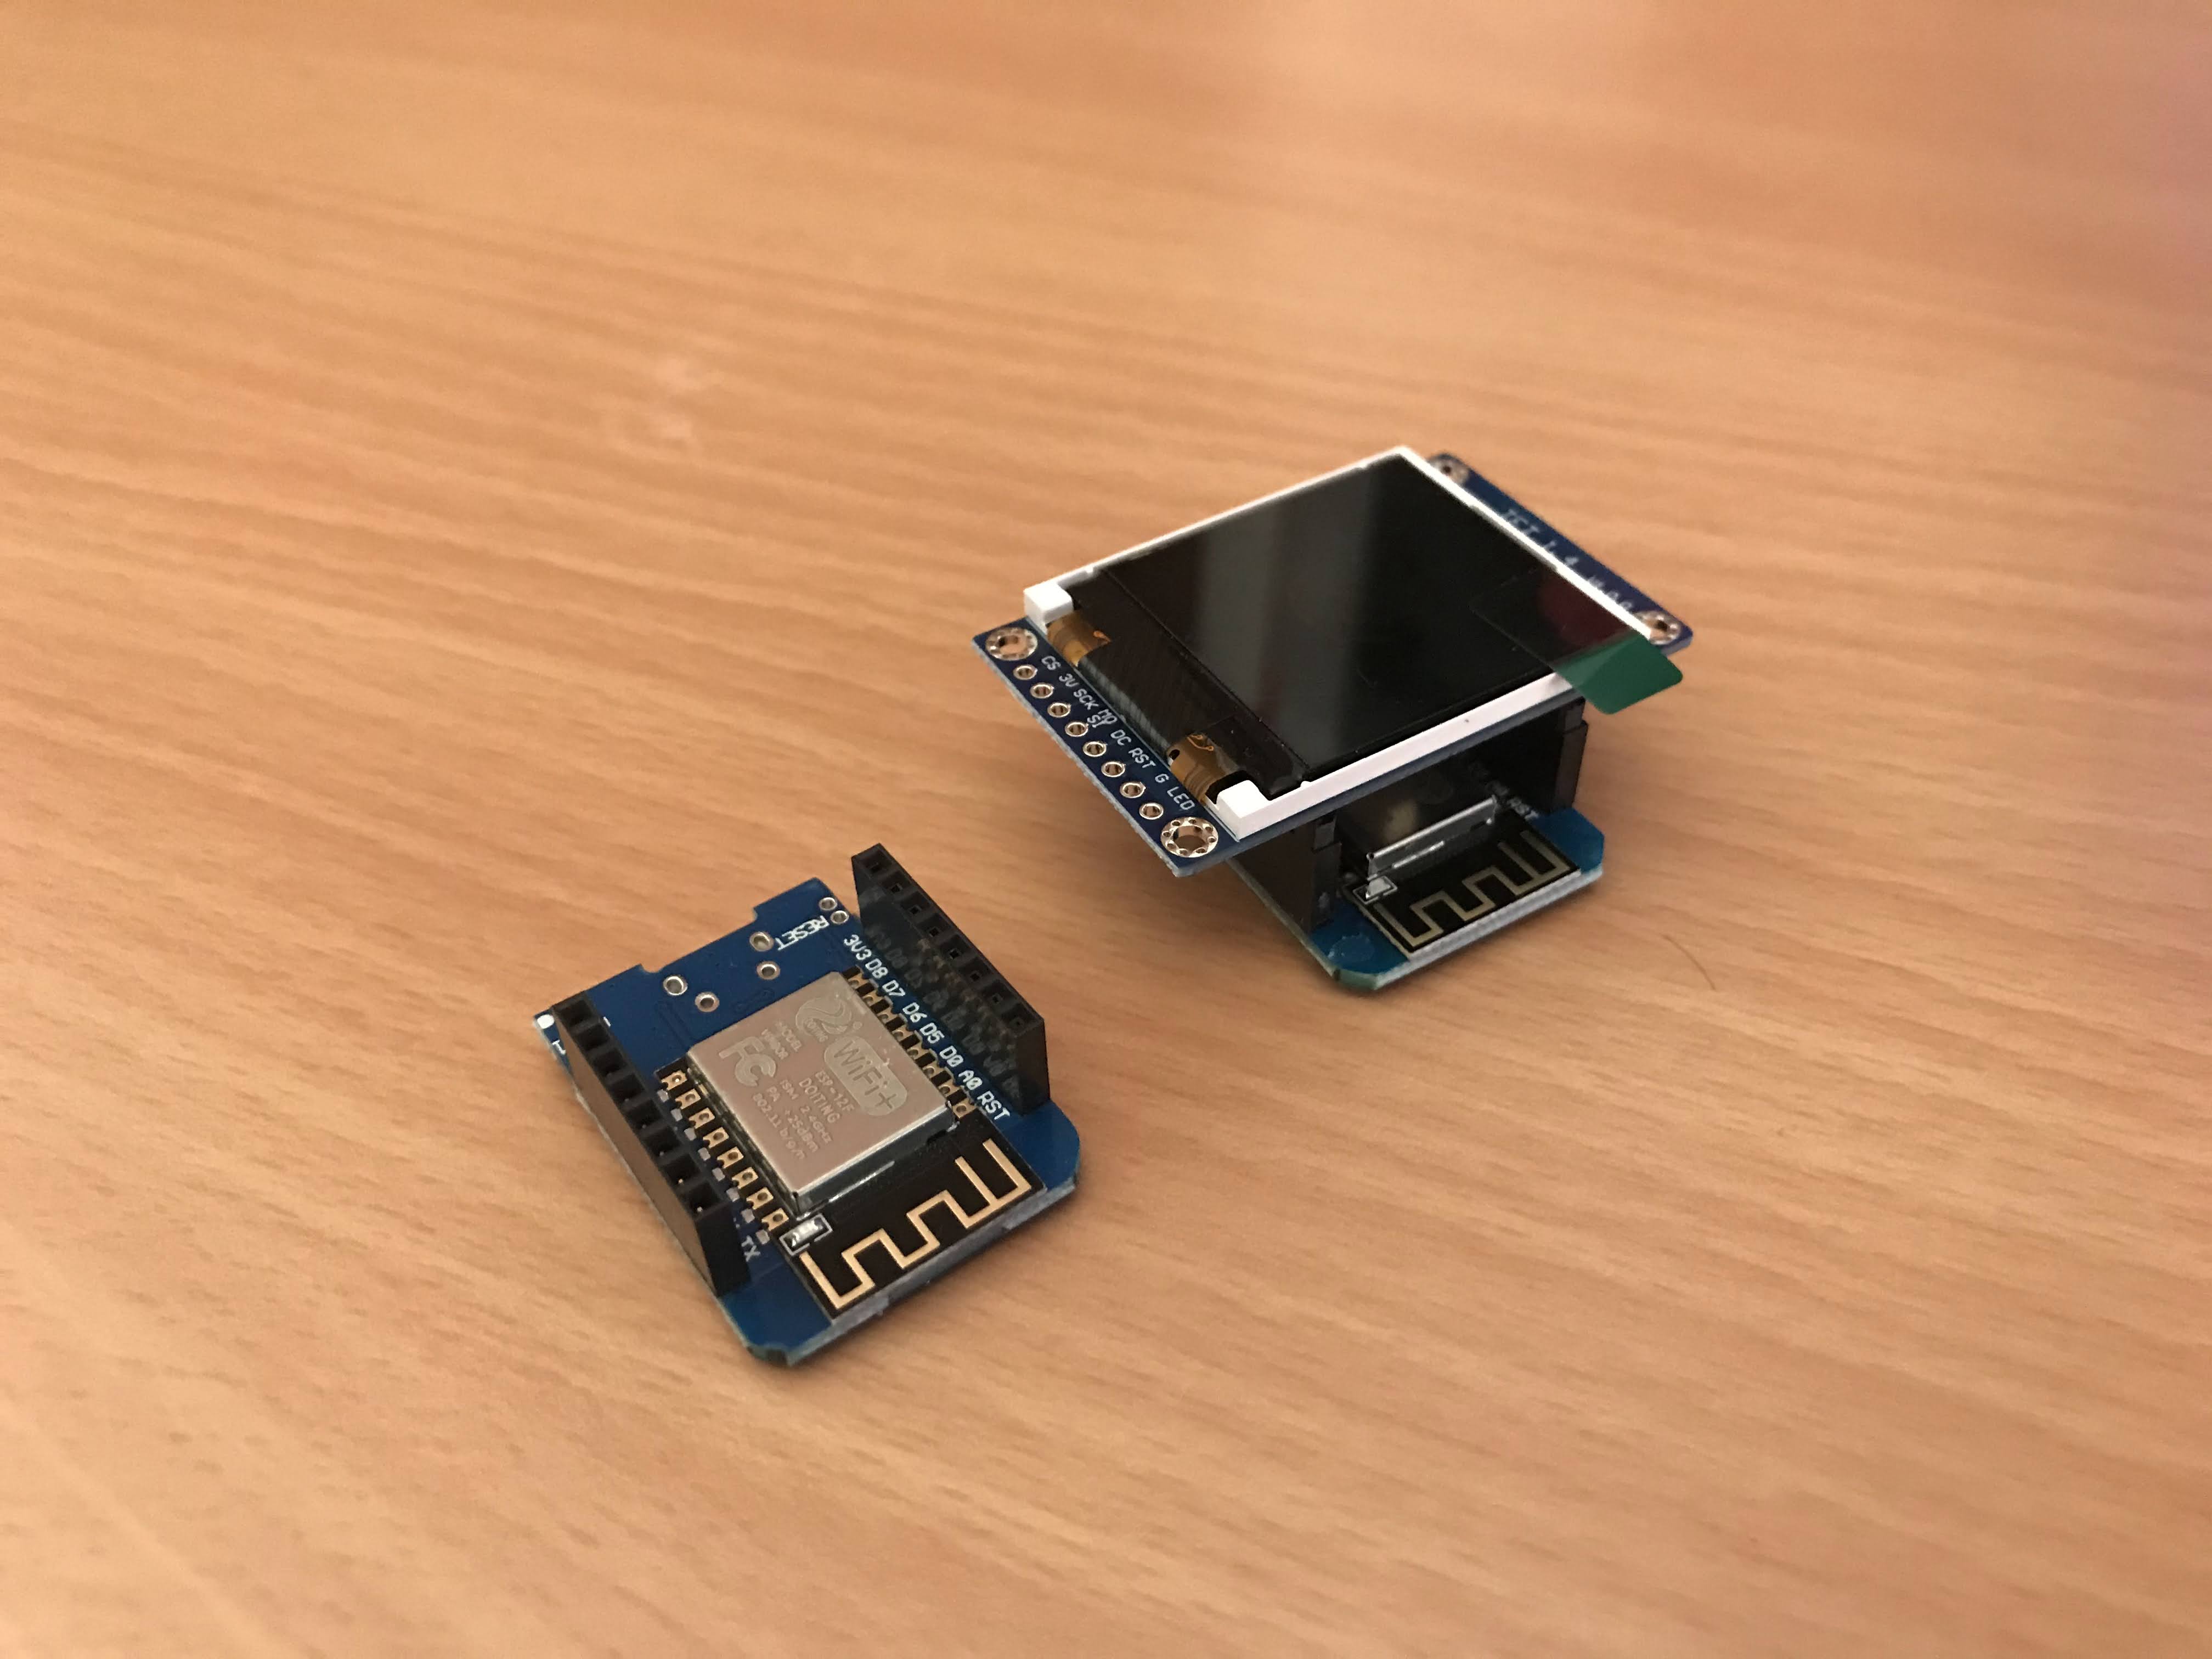
Without case (ST7735 Screen)
- 1x Wemos D1 R1 Mini (ESP8266) - Get it on Amazon
- 1x ST7735 Shield for Wemos- Get it on Amazon
Instructions
Software
Get the Source Code on GitHub
You need to install the following software to start building this project:
- Visual Studio Code
- PlatformIO Extension for VSCode
- Open Hardware Monitor
- UART Driver for Windows to recognise your ESP8266
VSCode
You need to modify the following values from /include/secrets.h matching your Wi-Fi setup
URL example const char *url = "http://YOUR-PC-IP:8085/data.json";
How to get your pc ip address on Windows 10?
- Open
Command Prompt - Write
ipconfigand press ENTER - Search for IPv4 Adress:
YOUR-PC-IP
const char *ssid = "YOUR_SSID";
const char *password = "YOUR_PASSWORD";
const char *url = "YOUR_OPENHARDWAREMONITOR_SERVER_URL";
const char *hostname = "HardwareMonitor";
Inside /src/main.cpp you need to choose between hardwareMonitorSSD1306(); or hardwareMonitorST7735();
Uncomment the screen that you want to use.
// Enable Wi-Fi Hardware Monitor with SSD1306 screen
  hardwareMonitorSSD1306();
// Enable Wi-Fi Hardware Monitor with ST7735 screen
  // hardwareMonitorST7735();
On platformio.ini you choose the port that uses your ESP8266
Uncomment the upload protocol that you want to use.
; Upload over serial
upload_protocol = esptool
upload_port = COM4

; Upload over Wi-Fi
; upload_protocol = espota
; upload_port = "192.168.1.120"
Open Hardware Monitor
- Go to
Options > Remote Web Server - Enable
Run - On
Set Portuse for example port8085
Firewall rule for Windows 10
- Add an
Entry Rulewith the following values- Name
Open Hardware Monitor - Port
8085 - Protocol
TCP
- Name
How to test if server is accesible?
- Get your phone connected to Wi-Fi
- On browser url write
YOUR-PC-IP:8085 - If you can see the values, your Wi-Fi Hardware Monitor can access them.
We are working on this post, sorry for the inconvenience.
Gallery
3D Model
Get it on Thingiverse